

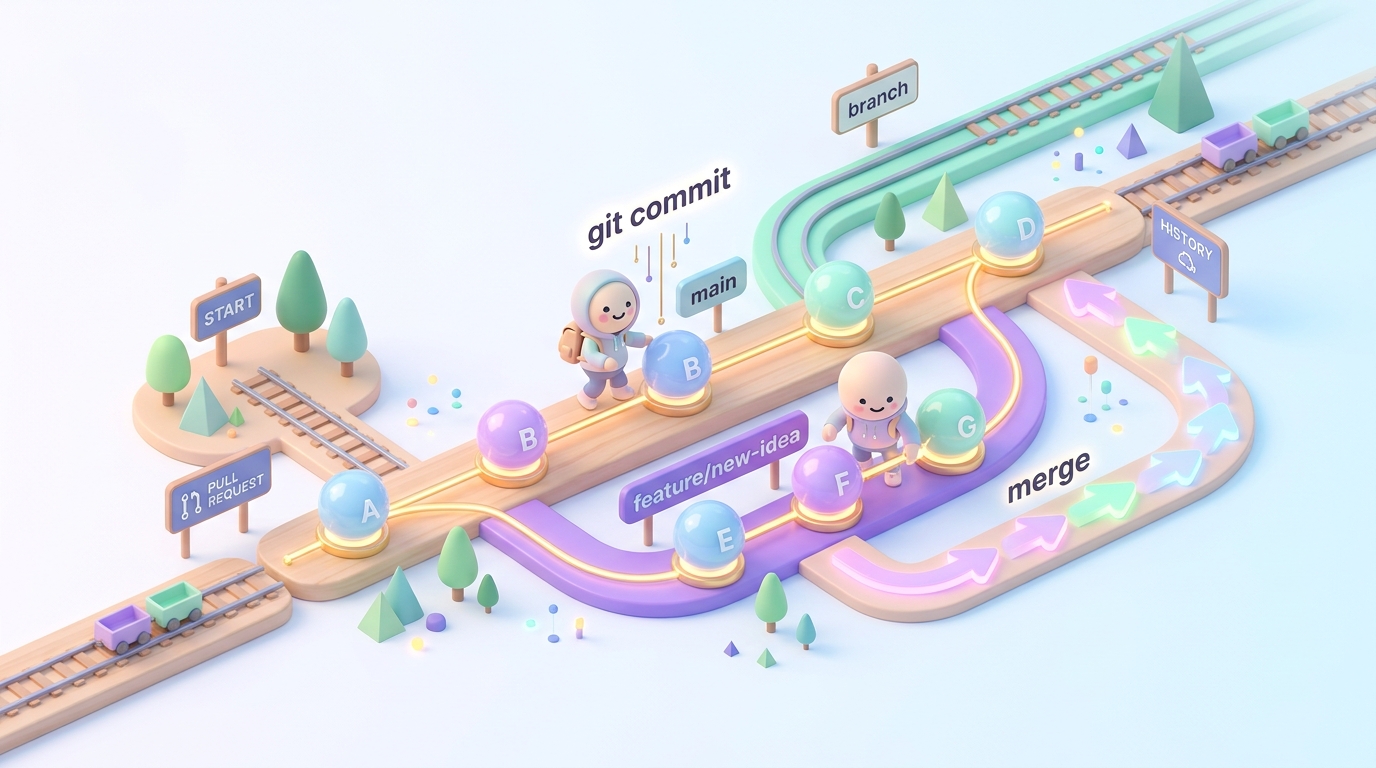
Most beginners learn Git as a list of commands: add, commit, push. Then they join a team and find that the commands were the easy part. The hard part is the workflow: which branch to work on, how to open a pull request that people will actually review, why the merge button is greyed out, and what to do when someone else changed the same file. This guide covers the Git and GitHub workflow that real DevOps and platform teams use every day, with commands you can run tonight on your own laptop.
It is written for beginners and career switchers. You do not need to be a developer. If you can use a terminal and are willing to break things in a practice repository, you have enough to start.
Why Git matters so much in DevOps
In a DevOps team, Git is not just where application code lives. It is where almost everything lives:
- Terraform and other infrastructure code
- Kubernetes manifests and Helm charts
- Dockerfiles and build scripts
- CI/CD pipeline definitions such as GitHub Actions workflows
- Documentation, runbooks and sometimes monitoring configuration
That means a change to production often starts as a pull request. If a colleague wants to resize a database, add a firewall rule or change how a service deploys, they open a branch, make the change in code, and ask for review. The pull request becomes the record of what changed, who approved it and why. When something breaks at 2am, the Git history is one of the first places the on-call engineer looks.
So when an interviewer asks "how comfortable are you with Git?", they rarely mean "do you know git commit". They mean: can you work safely in a shared repository without blocking or breaking anyone else?
Git versus GitHub: get the names right
Git and GitHub are different things, and mixing them up in an interview is a small but avoidable mistake.
| Git | GitHub | |
|---|---|---|
| What it is | A version control tool that runs on your machine | A hosted service that stores Git repositories online |
| Made by | Originally Linus Torvalds, now an open source project | GitHub, owned by Microsoft |
| Works offline | Yes | No, it is a website and API |
| Main ideas | Commits, branches, merges, history | Pull requests, reviews, Issues, Actions, permissions |
| Alternatives | Few in practice; Git dominates | GitLab, Bitbucket, Azure Repos |
Everything in this guide about pull requests and protections is GitHub-specific in wording, but GitLab has close equivalents (it calls them merge requests and protected branches). If your target employer uses GitLab, our GitLab page covers that side.
Set up Git properly (15 minutes)
Install Git from your package manager on Linux (sudo apt install git on Ubuntu), from git-scm.com on Windows, or with Homebrew on macOS. Then tell Git who you are. These details appear on every commit you make, so use the email attached to your GitHub account.
git config --global user.name "Ada Okafor"
git config --global user.email "ada@example.com"
git config --global init.defaultBranch main
git config --global pull.rebase false
git config --list
Next, connect to GitHub using SSH so you are not typing passwords. GitHub stopped accepting account passwords for Git operations some years ago, so you need either SSH keys or a personal access token.
ssh-keygen -t ed25519 -C "ada@example.com"
cat ~/.ssh/id_ed25519.pub
Copy the output, go to GitHub, open Settings > SSH and GPG keys > New SSH key, and paste it in. Then test:
ssh -T git@github.comYou should see a message greeting you by username. If you prefer a guided route, the official GitHub CLI (gh) can do this for you with gh auth login.
A note on internet: Git works offline for almost everything. You can commit, branch, view history and merge with no connection at all. You only need data when you push, pull or fetch. If your connection is unreliable or you are on metered data, do your work locally and push in batches when the network is good. A failed push does not lose anything; just run it again.
The core workflow teams actually use
Most teams today use some form of GitHub Flow, sometimes called trunk-based development with short-lived branches. The idea is simple:
mainis always deployable.- Every change happens on a short-lived branch created from
main. - You open a pull request to merge that branch back.
- Automated checks run and at least one colleague reviews.
- Once approved and green, the branch is merged and deleted.
- Merging to
mainusually triggers a deployment, either straight away or to a staging environment first.
Older guides describe Git Flow, with long-lived develop, release and hotfix branches. You will still meet it in some companies, especially ones that ship versioned software on a schedule. But for cloud services and infrastructure code, short-lived branches into main are far more common. Learn GitHub Flow first.
| GitHub Flow / trunk-based | Git Flow | |
|---|---|---|
| Long-lived branches | Just main | main and develop, plus release branches |
| Branch lifetime | Hours to a few days | Can be weeks |
| Merge conflicts | Smaller and less frequent | Larger, more painful |
| Fits | Web services, infrastructure, continuous delivery | Versioned releases, mobile apps, some enterprise software |
| Learning curve | Low | Higher |
Worked example: one change from start to finish
Let us walk through a realistic change. You have a repository with Terraform code, and you need to add tags to an S3 bucket so the finance team can track costs.
Step 1: start from an up-to-date main
git switch main
git pull origin main
Never start a branch from a stale main. If you skip this, you build on old code and your pull request will conflict with work others have already merged.
Step 2: create a branch with a clear name
git switch -c feat/add-cost-tags-to-logs-bucketTeams often use prefixes such as feat/, fix/, chore/ or docs/, sometimes with a ticket number: fix/OPS-142-alert-threshold. Check whether your team has a convention and follow it.
Step 3: make the change and check what you did
Edit the file, then look before you commit:
git status
git diff
git diff is your first reviewer. Read every line. This is where you catch the stray debug line, the accidentally changed indentation or, worse, a secret pasted into a config file.
Step 4: commit in small, meaningful pieces
git add main.tf
git commit -m "Add cost-centre tags to logs bucket"
A good commit message says what changed in the summary line, in about 50 characters or fewer, written as an instruction ("Add", "Fix", "Remove"). If the reason is not obvious, add a blank line and a short paragraph explaining why. Many teams also follow the Conventional Commits style, such as feat: add cost-centre tags to logs bucket. Neither is "correct"; consistency within the repository is what matters.
Avoid git add . until you are confident about what is in your working directory. It is the most common way beginners commit files they never meant to share.
Step 5: push the branch
git push -u origin feat/add-cost-tags-to-logs-bucketThe -u sets the upstream, so next time git push on its own is enough.
Step 6: open the pull request
You can use the link GitHub prints after the push, or the CLI:
gh pr create --base main --title "Add cost-centre tags to logs bucket" \
  --body "Adds CostCentre and Owner tags so finance can attribute spend. No resource replacement expected; terraform plan output attached in the CI check."
Step 7: respond to review, then merge
Reviewers leave comments. You fix things with new commits on the same branch and push again; the pull request updates automatically. When checks pass and you have approval, merge from the GitHub interface or with:
gh pr merge --squash --delete-branchThen tidy up locally:
git switch main
git pull origin main
git branch -d feat/add-cost-tags-to-logs-bucket
That is the whole loop. Teams repeat it many times a day.
Writing pull requests people want to review
Reviewers are busy. A pull request that is easy to review gets reviewed faster. A good one has:
- A small scope. One change, one purpose. A pull request that touches 40 files across three unrelated features will sit for days. If your change is large, split it.
- A clear title. The title often becomes the commit message on
mainwhen squash merging, so write it carefully. - A description that answers three questions: what changed, why, and how you tested it. For infrastructure changes, include or link the
terraform planoutput so reviewers can see exactly what will be created, changed or destroyed. - A note on risk. "This replaces the load balancer" is something a reviewer needs to know before they approve, not after.
Many teams add a template so every pull request asks these questions. Create .github/pull_request_template.md in your repository:
## What does this change?

## Why?

## How was it tested?

## Risk and rollback
- [ ] No production impact
- [ ] Rollback plan described above
Reviewing other people's code
As a junior, you may think reviewing is for seniors. It is not. Reviewing is one of the fastest ways to learn a codebase, and teams value people who review well. When you review:
- Read the description first, then the diff.
- Ask questions rather than issue orders: "What happens if this variable is empty?" lands better than "This is wrong."
- Separate blockers from preferences. Prefix optional suggestions with "nit:" so the author knows they can ignore them.
- Check what the automated tools cannot: does the change match the stated intent? Is a secret exposed? Does a Terraform change destroy something important?
- Approve when it is good enough and safe, not when it is exactly how you would have written it.
GitHub lets you leave a review as Comment, Approve or Request changes. Use "Request changes" when something genuinely must be fixed before merging.
Merge strategies: merge, squash or rebase
GitHub offers three ways to merge a pull request, and repository admins can enable or disable each one.
| Strategy | What ends up on main | Good for | Watch out for |
|---|---|---|---|
| Create a merge commit | All your commits plus a merge commit | Keeping the full history of a branch | A busy, noisy history |
| Squash and merge | One commit containing the whole change | Clean history, one change per pull request | Individual commit detail is lost on main |
| Rebase and merge | Your commits replayed on top of main, no merge commit | Linear history with commits kept | Rewritten commit hashes; needs tidy commits |
Squash and merge is a popular default for DevOps repositories because it gives one clear commit per change, which makes git log readable and makes reverting a change a single command:
git revert <commit-sha>
git push origin main   # usually via a pull request if main is protected
Branch protection and rulesets
On a team repository, nobody should be able to push straight to main, including you on a bad day. GitHub provides two ways to enforce this: the older branch protection rules and the newer rulesets. Both live under the repository Settings. Rulesets are more flexible (they can apply across many branches or across an organisation, and several can stack), but the common rules are the same idea in both.
The protections most teams switch on for main:
- Require a pull request before merging, so no direct pushes.
- Require approvals, often one or two.
- Dismiss stale approvals when new commits are pushed, so a reviewer is not approving code they never saw.
- Require review from code owners for sensitive paths.
- Require status checks to pass, such as tests, linting or
terraform validate. - Require branches to be up to date before merging, so checks run against the latest
main. - Block force pushes and block deletions.
- Require linear history if the team uses squash or rebase only.
Some features have limits on free plans for private repositories, and plans change, so check GitHub's documentation for what your plan includes. On a public practice repository you can try all of the above for free.
CODEOWNERS
A CODEOWNERS file automatically requests reviews from the right people when certain files change. Put it in .github/CODEOWNERS:
# Default reviewers for everything
*                     @your-org/platform-team

# Infrastructure changes need the infra team
/terraform/           @your-org/infra-team

# Pipeline changes need a DevOps lead
/.github/workflows/   @ada-okafor
Later lines take precedence over earlier ones for matching files. Combined with "require review from code owners", this means nobody can merge a change to production infrastructure without the infra team seeing it.
Status checks with GitHub Actions
Protections become powerful when they are tied to automated checks. Here is a minimal workflow that runs on every pull request to main and checks Terraform formatting and validity. Save it as .github/workflows/terraform-checks.yml:
name: terraform-checks

on:
  pull_request:
    branches: [main]

jobs:
  validate:
    runs-on: ubuntu-latest
    steps:
      - uses: actions/checkout@v4
      - uses: hashicorp/setup-terraform@v3
      - name: Format check
        run: terraform fmt -check -recursive
      - name: Init
        run: terraform init -backend=false
      - name: Validate
        run: terraform validate
Once it has run at least once, you can select the validate job as a required status check in your branch protection or ruleset. Now a pull request with badly formatted or invalid Terraform cannot be merged. Our CI/CD with GitHub Actions guide goes much further, including deployments and secrets.
Handling merge conflicts calmly
A conflict happens when two branches change the same lines. It is normal, not a sign you did something wrong. To bring your branch up to date with main:
git fetch origin
git switch feat/add-cost-tags-to-logs-bucket
git merge origin/main
If there is a conflict, Git marks the file:
<<<<<<< HEAD
  Owner      = "platform"
=======
  Owner      = "infra"
>>>>>>> origin/main
Decide what the correct final version is (sometimes it is one side, sometimes a combination), delete the markers, then:
git add main.tf
git commit
git push
Some teams prefer git rebase origin/main instead of merging, which gives a cleaner history but rewrites your branch's commits, so you then need git push --force-with-lease. Only ever force push your own feature branch, never a shared branch, and prefer --force-with-lease over --force because it refuses to overwrite work you have not seen.
Keeping secrets out of Git
This deserves its own section because it is the most expensive beginner mistake. If you commit an access key to a public repository, automated scanners can find it very quickly. With cloud accounts billed in dollars on a Nigerian card, a leaked key used to run someone else's workloads can produce a bill you cannot easily absorb.
Protect yourself:
- Add a
.gitignorefrom the start, covering files such as.env, `.tfstate`, `.tfvarscontaining secrets, and.terraform/`. - Store secrets in GitHub Actions secrets or a proper secrets manager, never in code.
- Turn on GitHub's secret scanning and push protection where available for your repository.
- Set budget alerts on every cloud account you practise with.
# .gitignore for a Terraform repo
.terraform/
*.tfstate
*.tfstate.*
.env
crash.log
If you do commit a secret, deleting it in a new commit is not enough, because it remains in history. Revoke or rotate the key first, at the cloud provider, immediately. Cleaning history comes second. Our cloud security basics guide covers this in more depth.
Common mistakes and how to avoid them
- Working directly on main. Always branch. Turn on protections even in practice repos so the habit forms.
- Giant pull requests. Split work into reviewable pieces.
- Vague commit messages such as "update" or "fix stuff". Future you will not know what they mean.
- Force pushing to shared branches. It can erase colleagues' work.
- Committing generated or large files, such as
node_modules/, build output or Terraform state. - Ignoring failed checks and asking someone with admin rights to bypass them. Fix the check or discuss why it is wrong.
- Panicking after a mistake. Almost everything in Git is recoverable.
git reflogshows where your branch pointed recently, which lets you get back "lost" commits.
git reflog
git switch -c rescue-branch <sha-from-reflog>
Useful commands you will use weekly
git log --oneline --graph --decorate -20   # readable recent history
git stash                                    # park unfinished work
git stash pop                                # bring it back
git restore file.tf                          # discard local changes to a file
git restore --staged file.tf                 # unstage without losing changes
git commit --amend                           # fix the last commit (before pushing)
git blame main.tf                            # who last changed each line
gh pr status                                 # your open pull requests
gh pr checkout 42                            # test a colleague's PR locally
If you want to see what these commands do to the commit graph rather than just reading about them, our visual Git explainer and the Git Railway walkthrough show branches and merges moving as you work.
A realistic four-week practice plan
You can do this with a free GitHub account, a laptop and an hour or so most days. If power is unreliable, keep your laptop charged for evening sessions; most of this works offline until you push.
Week 1: solo Git basics.
- Install Git, configure your name, email and SSH key.
- Create a repository, make at least 15 small commits with good messages.
- Practise
status,diff,log,restoreandstashuntil they feel boring. - Drill commands in the Git Arena for quick repetition.
Week 2: branches and pull requests on your own repo.
- Turn on a branch protection rule or ruleset for
mainrequiring a pull request. - Make every change through a branch and pull request, even though you are the only person.
- Add a pull request template and a
.gitignore. - Deliberately create a merge conflict between two branches and resolve it.
Week 3: automation and ownership.
- Add a GitHub Actions workflow that runs a check on pull requests (a linter,
terraform validate, or a simple shell script test). - Make that check required before merging.
- Add a
CODEOWNERSfile. - Try each merge strategy and compare the resulting
git log --graph.
Week 4: work with other people.
- Find a friend or study partner and give each other collaborator access. Review each other's pull requests properly, with comments.
- Contribute to an open source project: fix a typo in documentation, following its contribution guide. It teaches forks, upstream remotes and real review etiquette.
- Write a short README in your repository explaining the workflow and protections you set up. That repository is now a portfolio piece; see our cloud portfolio projects guide for how to present it.
Frequently asked questions
Do I need to learn Git before Docker, Terraform or Kubernetes?
Learn the basics first, yes. Every other DevOps tool you learn will live in a Git repository, and every tutorial assumes you can clone, branch and commit. A week or two of focused practice is enough to get going; you will deepen it naturally as you learn other tools.
Should I learn GitHub or GitLab?
Start with whichever you will use soonest. The Git skills transfer completely, and the concepts (pull or merge requests, protected branches, CI pipelines, code owners) map closely between them. Many people learn GitHub first because so much open source lives there.
Is there a GitHub certification?
GitHub offers certifications, including GitHub Foundations and GitHub Actions. Check GitHub's official certification page for the current list, exam details and price. For most junior roles, a public repository showing a clean workflow, protections and working pipelines is at least as persuasive as a certificate.
Merge or rebase, which is better?
Neither is universally better. Merging preserves exactly what happened; rebasing gives a cleaner, linear history but rewrites commits. Follow your team's convention. The one firm rule is not to rebase or force push branches other people are working on.
Do I need to pay for GitHub to practise all this?
No. A free account with public repositories lets you practise pull requests, reviews, Actions and protections. Some features for private repositories depend on your plan, so check GitHub's pricing page if you need private repos with every protection enabled.
Next steps
Git is the foundation that every other DevOps skill sits on, and the workflow in this guide is the part that interviews and first jobs test. If you want structured practice with feedback, hands-on labs and a clear route from Git into CI/CD, containers and cloud, look at our courses. If you are not sure where to start or how this fits your career switch, book a free consultation and we will help you plan your next few months.